How to upload and organize rental documents
Quick answer
Open Documents, select the correct property context, upload the file with a useful name, and verify it in the landlord library. Landlord files are not automatically shared with every tenant.Open the document library
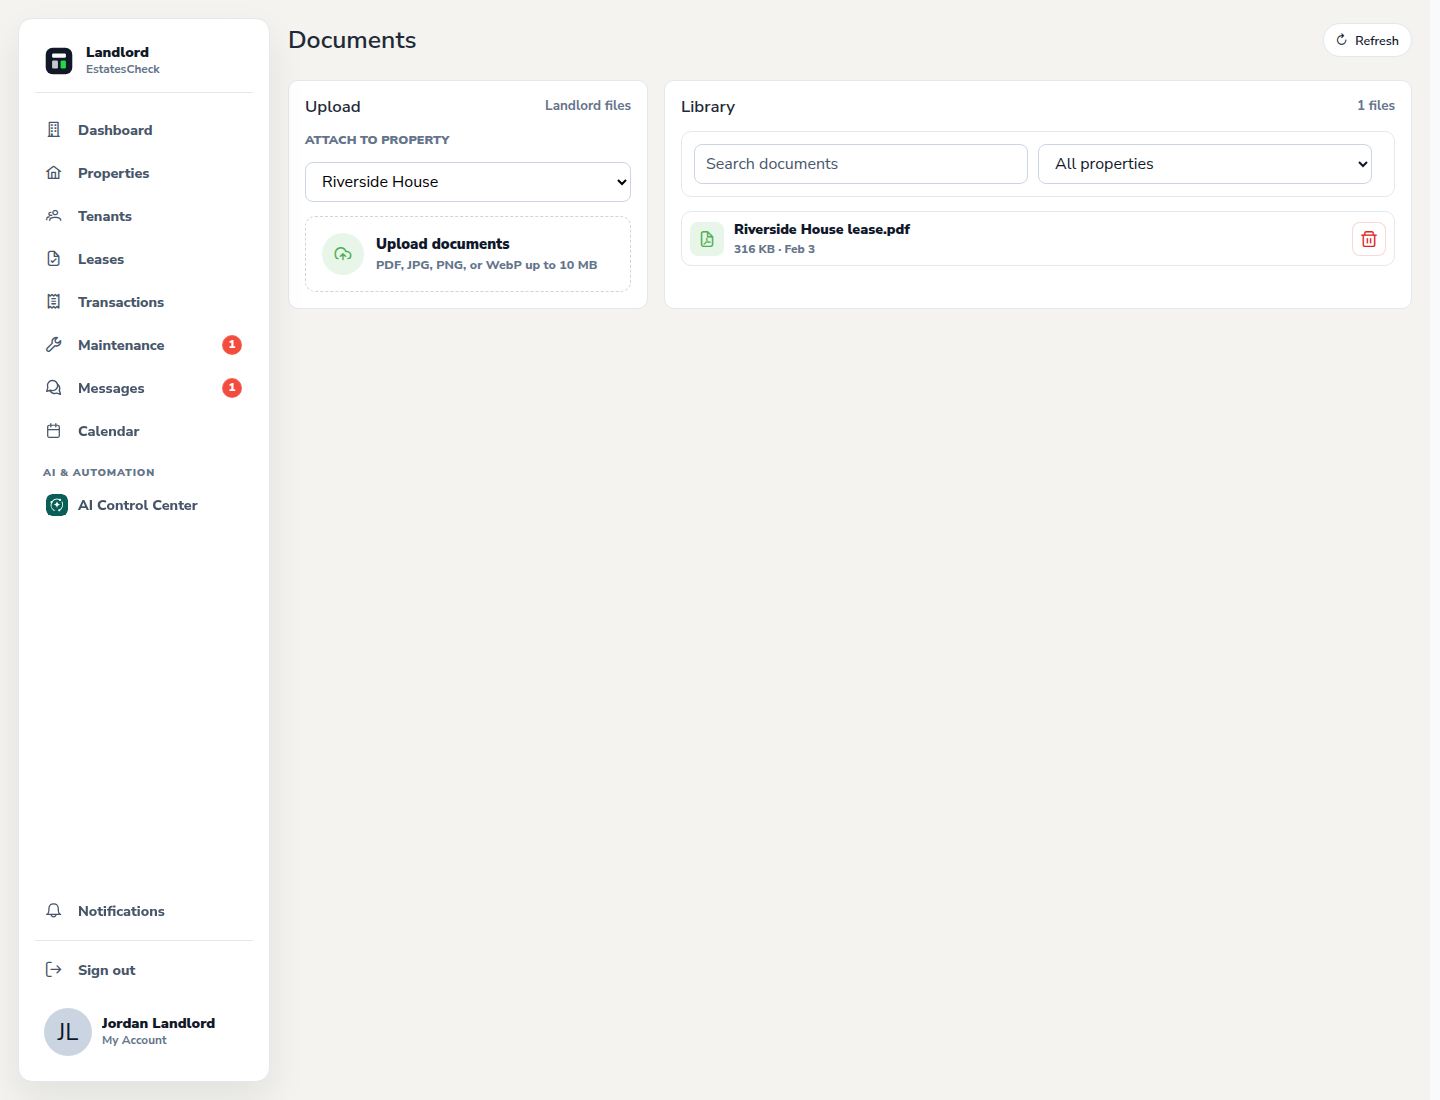
Choose Documents and review the existing library before uploading another copy.
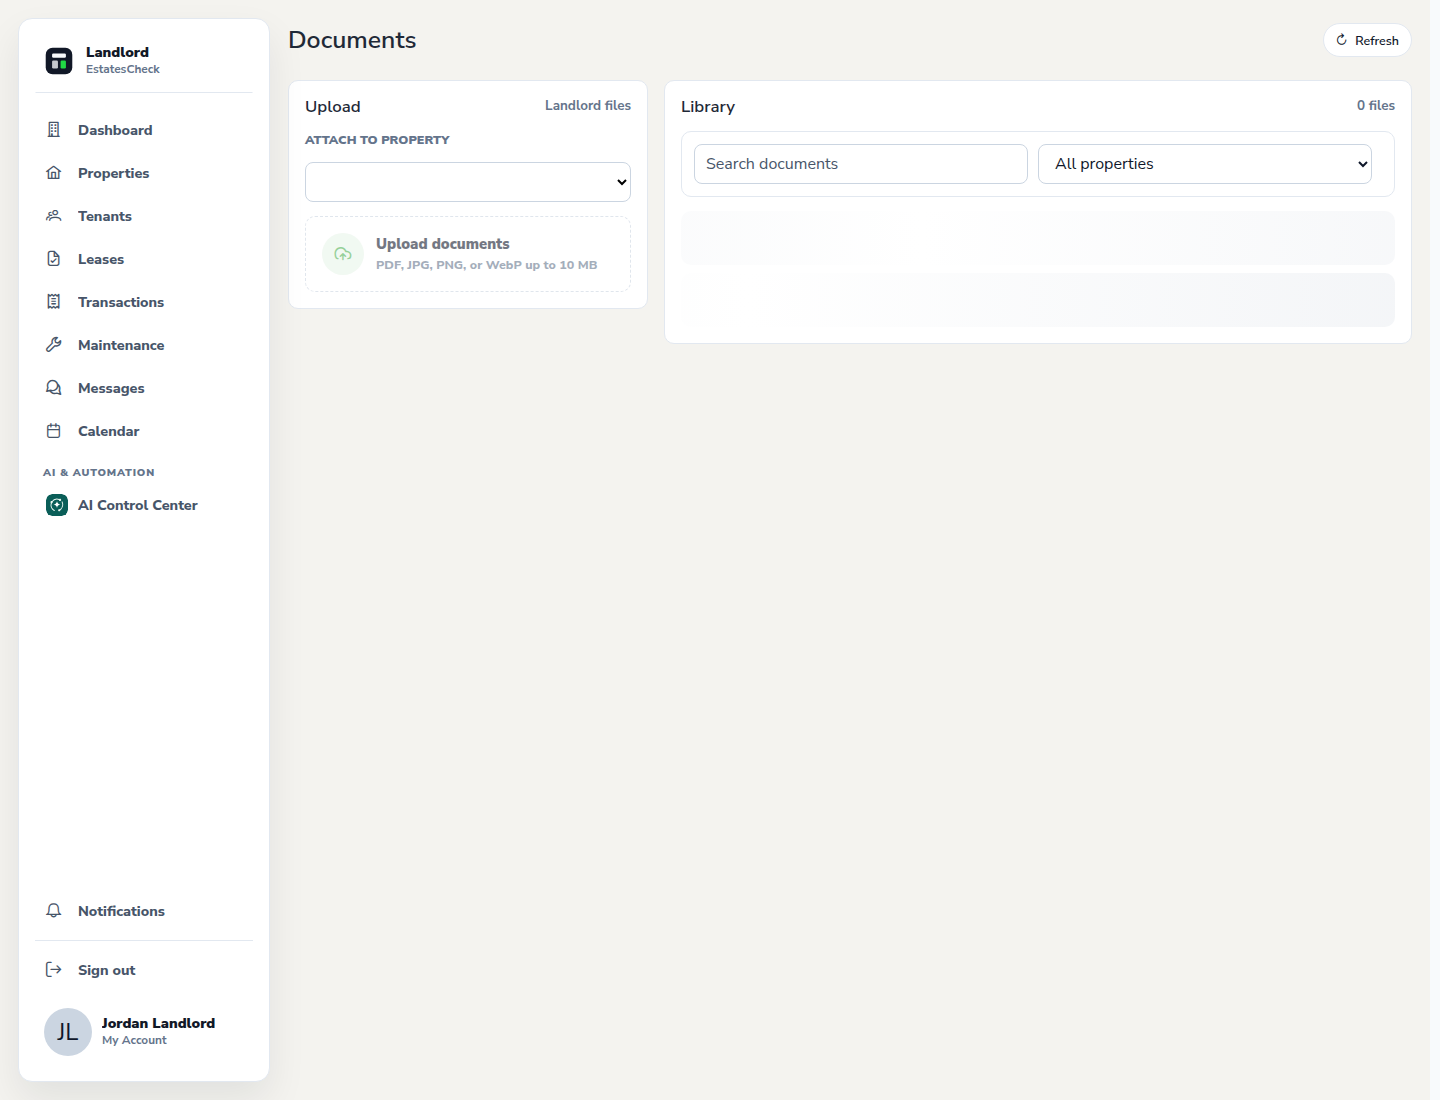
Choose the correct property
Set the property association so the file appears with the rental record it supports. Confirm the address before uploading.
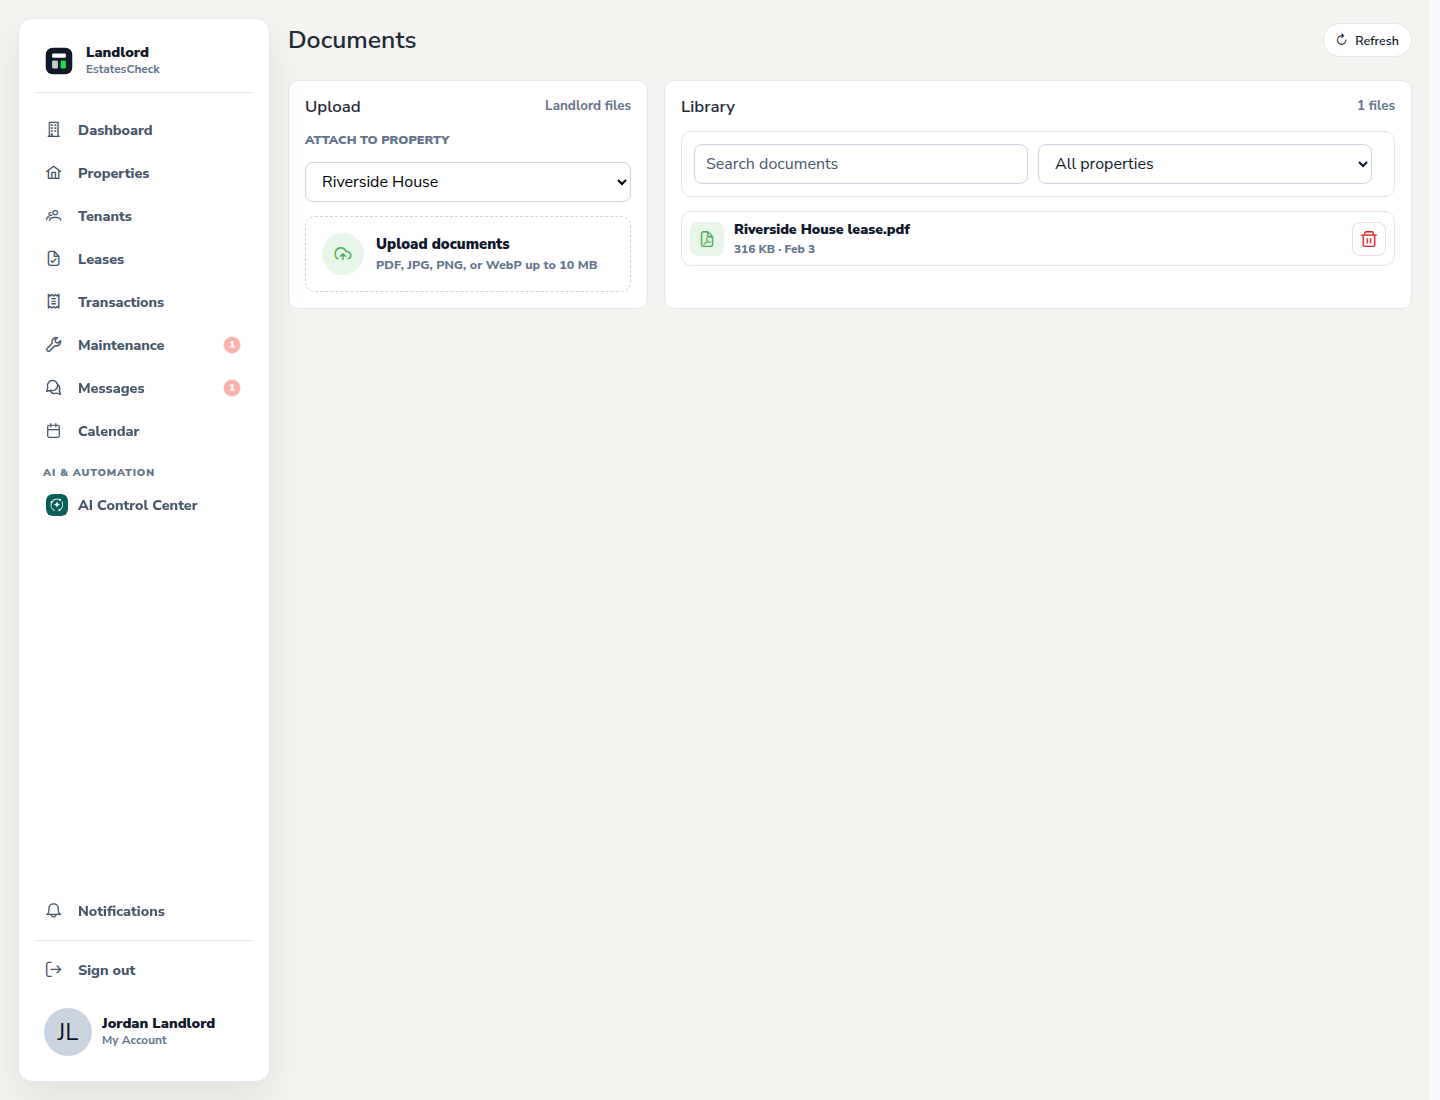
Upload and name the document
Choose the file, use a recognizable document name, and upload it. Store only information necessary for the rental workflow.
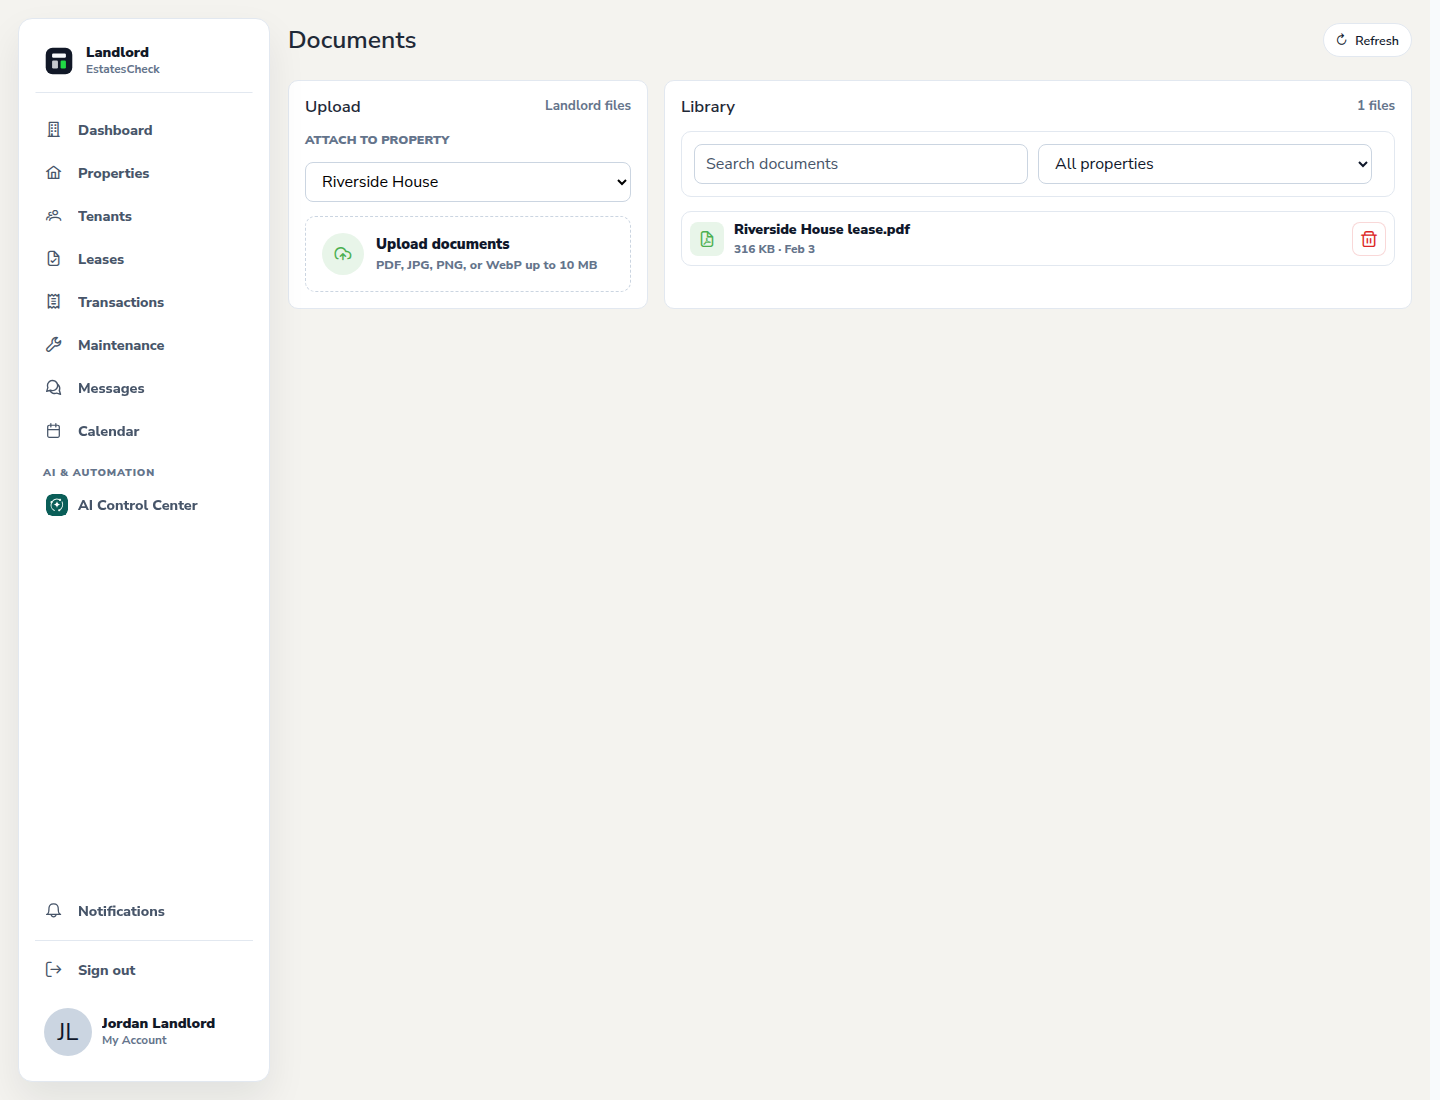
Find and verify the uploaded file
Use the library’s property filter and refresh action to locate the file. Open or download it only when authorized and confirm that the right version was stored.
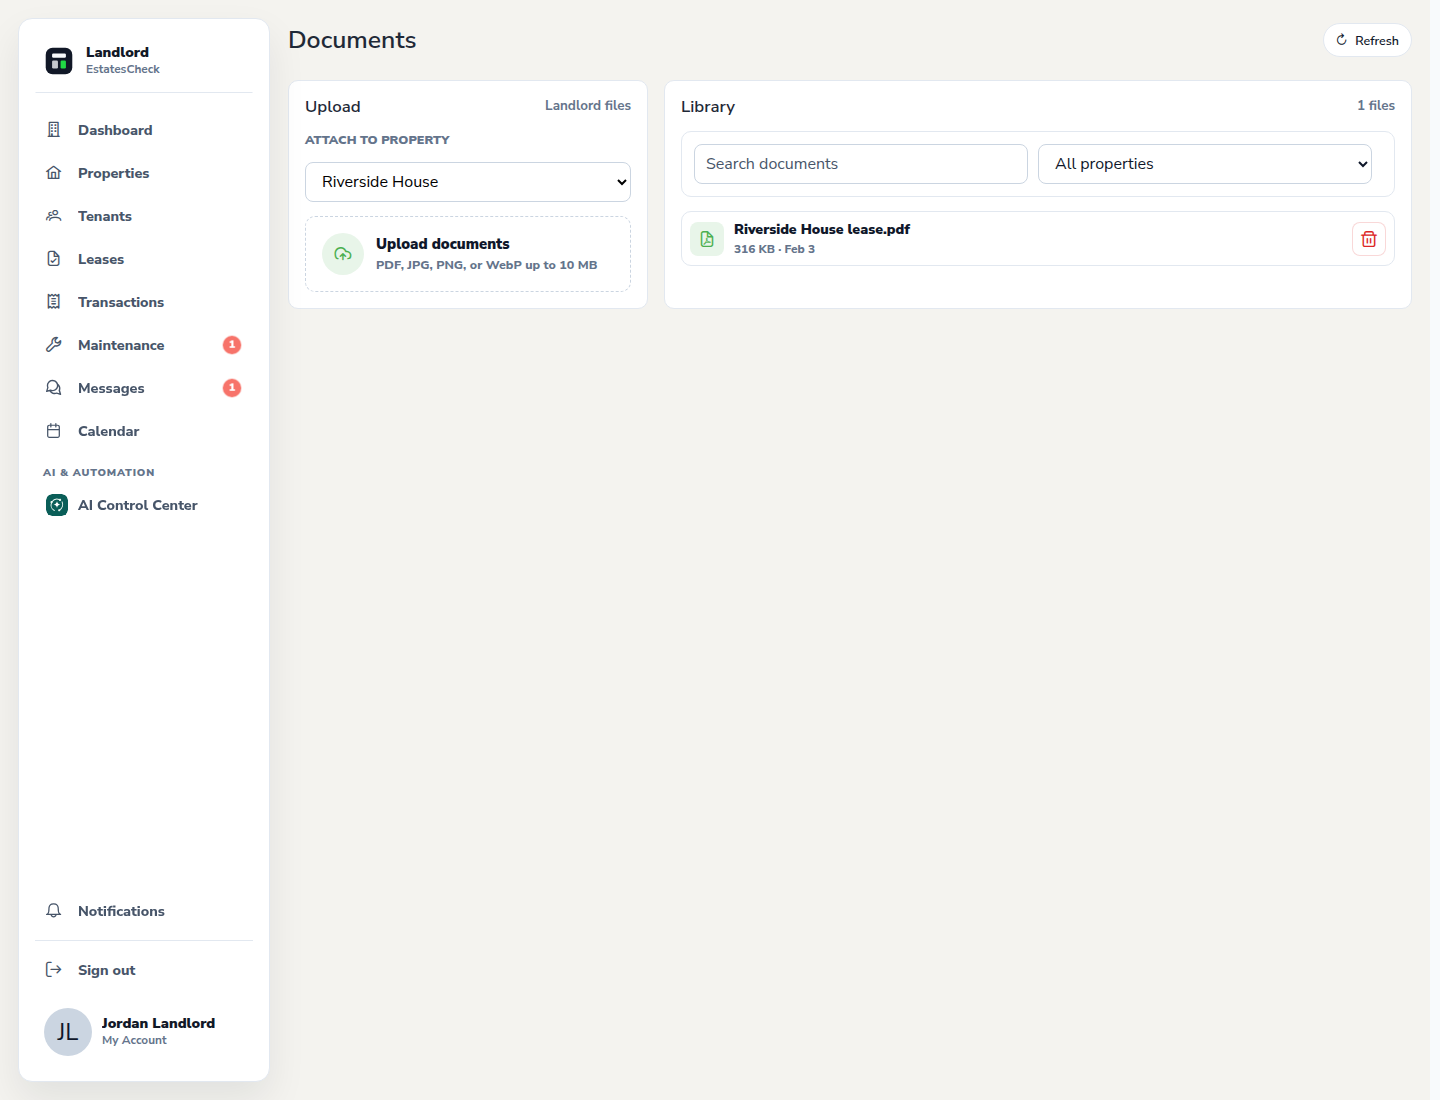
Understand tenant document access
A file in the landlord library is not automatically visible to every tenant. Tenants have a separate document area for files connected to their account and maintenance workflows. Use Messages to explain where an expected file can be found, without sending secrets.
Common questions