How to create, manage, and sign a lease
Quick answer
Start in Leases, choose a guided lease or editor, complete the agreement details, review every clause, connect the correct tenant and property, then send the agreement through the signing workflow.Open the lease workspace
Choose Leases to review drafts, active agreements, and signing status before creating another lease.
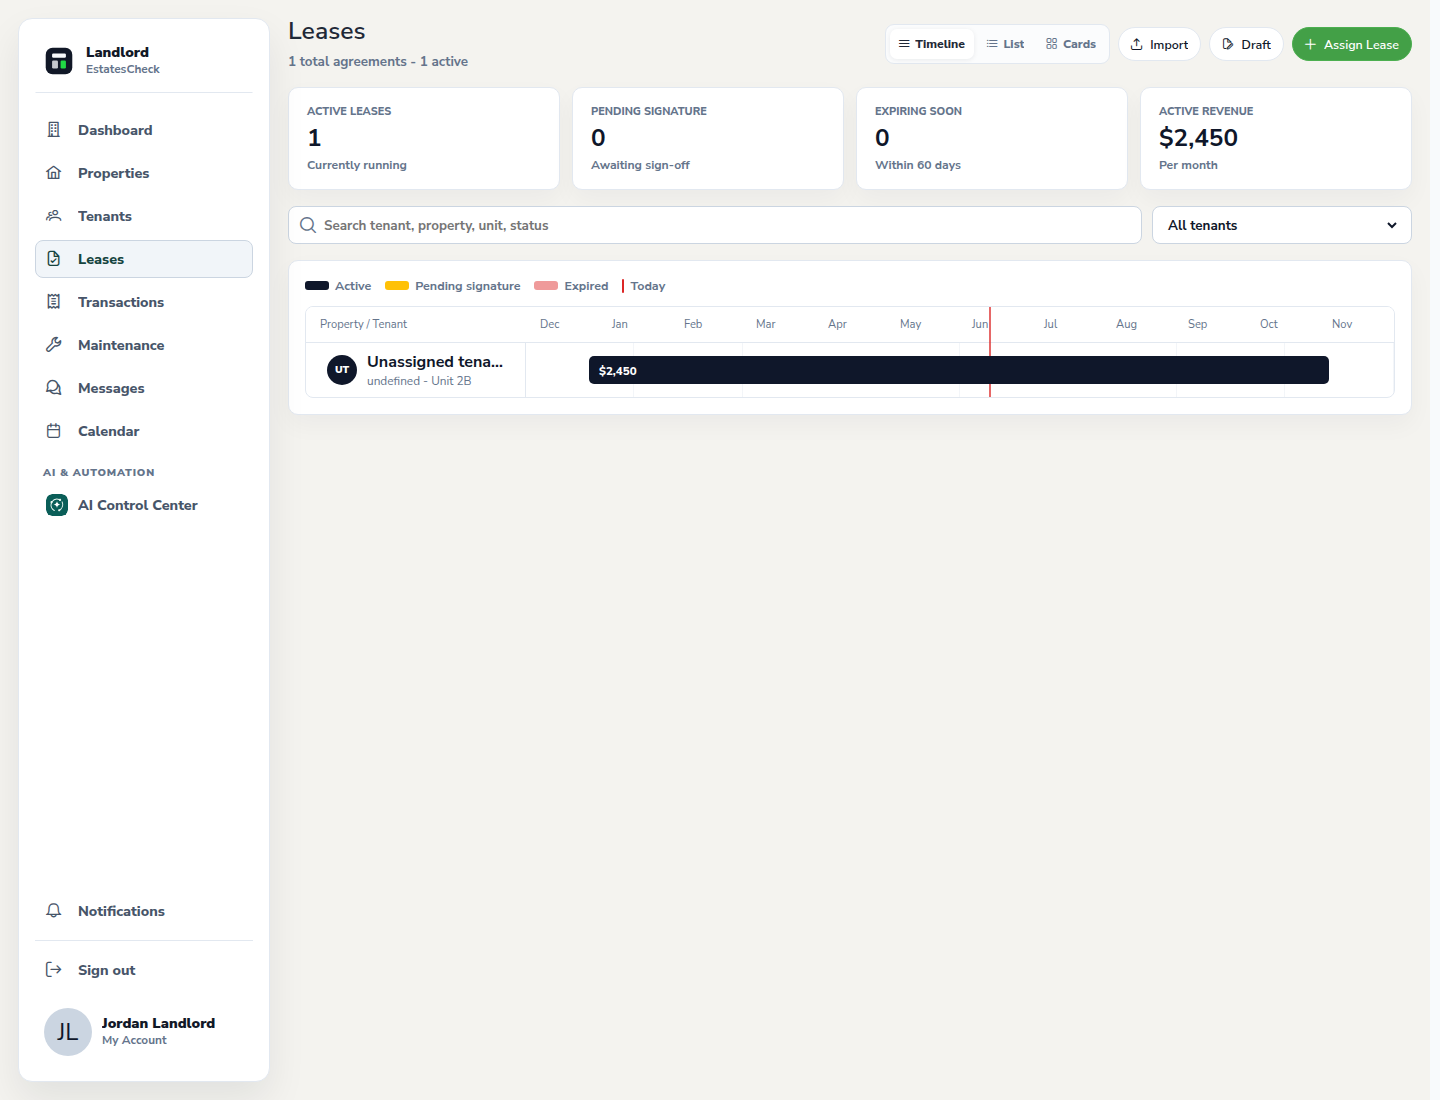
Choose guided lease or editor
Use the guided workflow for a structured sequence, or the lease editor when you need direct control over the document. Saved templates and clauses can help you reuse approved language.
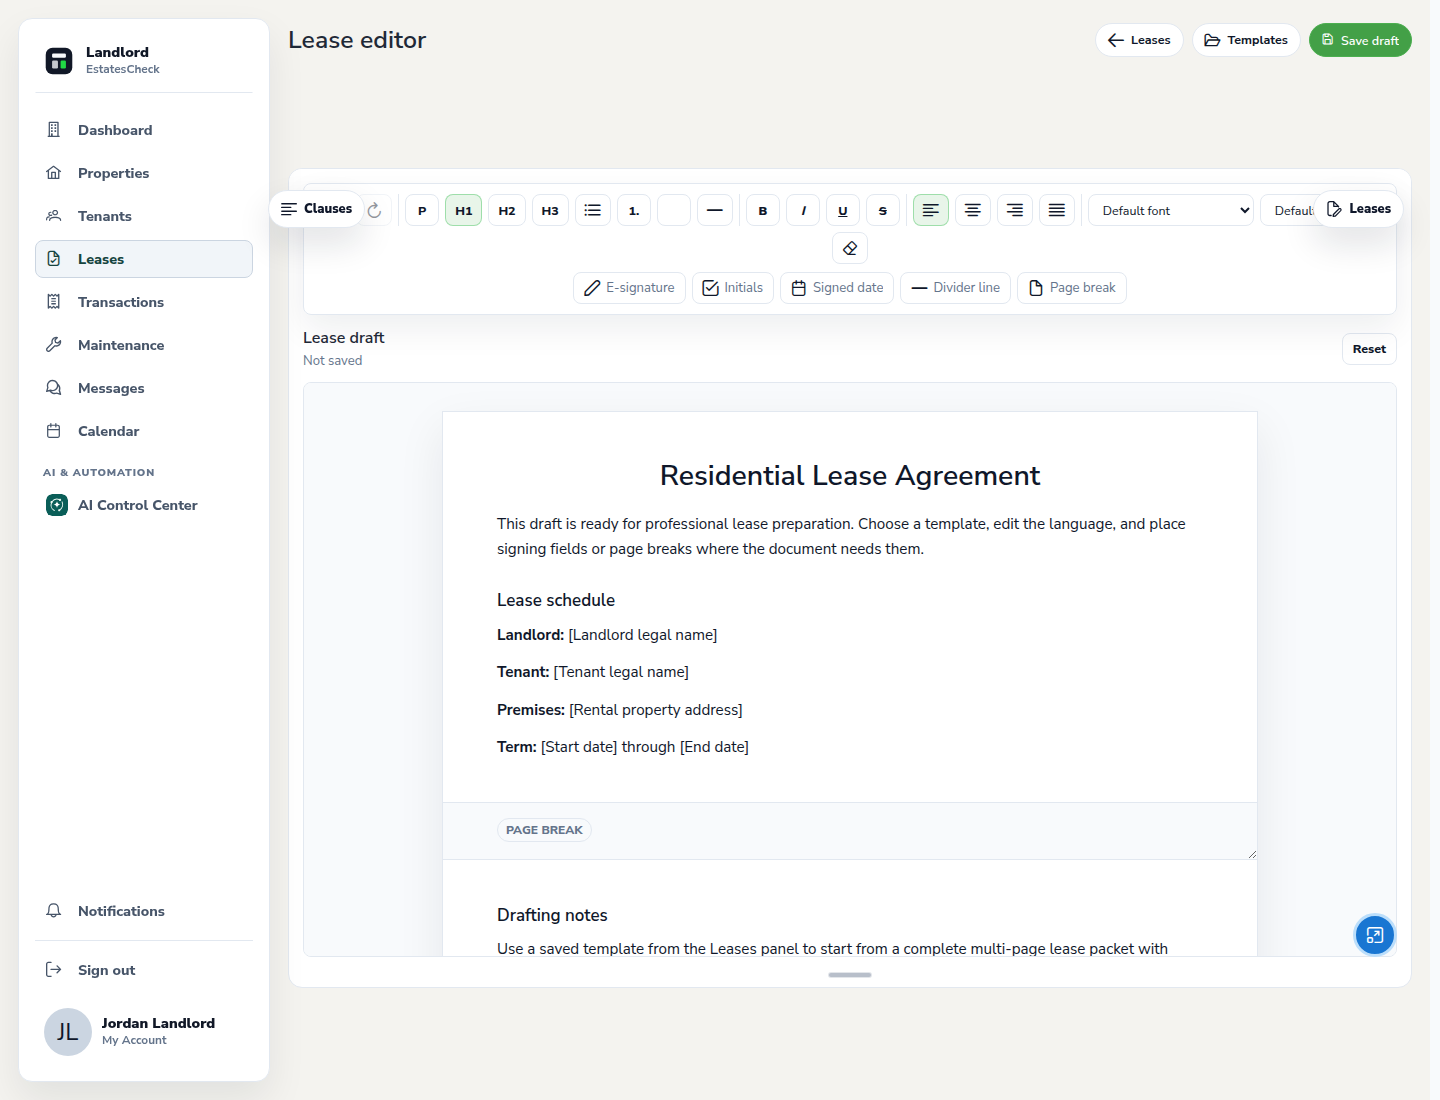
Complete and review the lease terms
Enter the parties, property, dates, rent, deposits, and applicable terms. Review the full agreement and required disclosures before you send it.
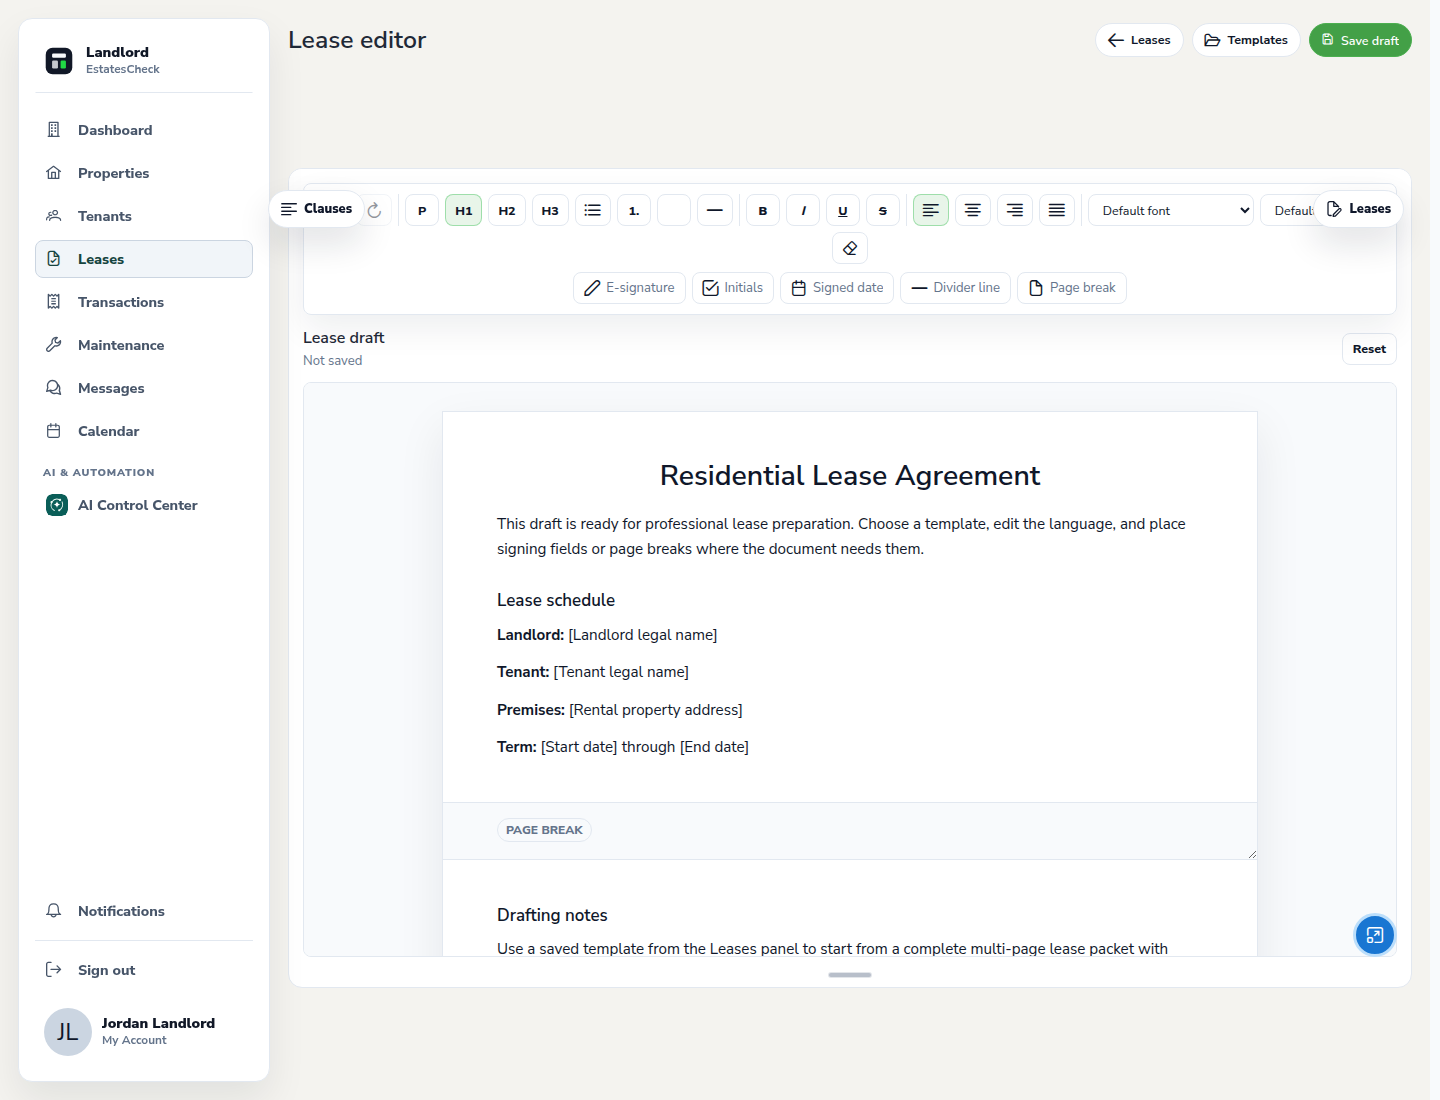
Assign the lease to the correct tenant
Connect the draft to the intended tenant, property, and unit. Confirm the names and email addresses that will be used for signing.
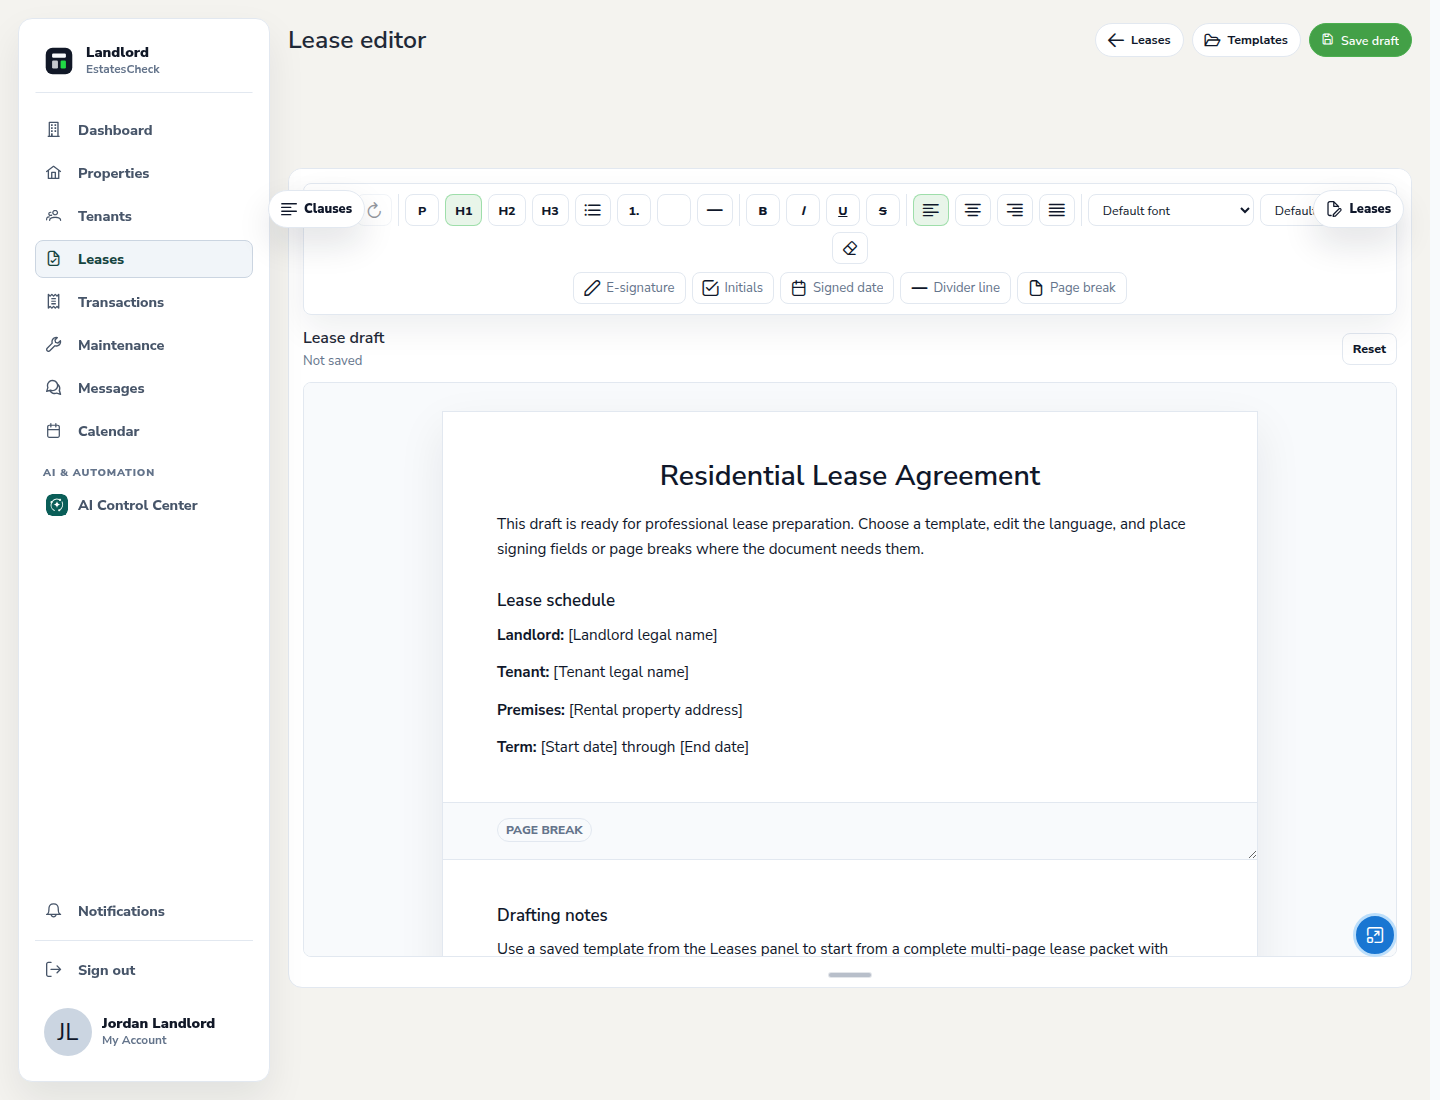
Send, review, and sign
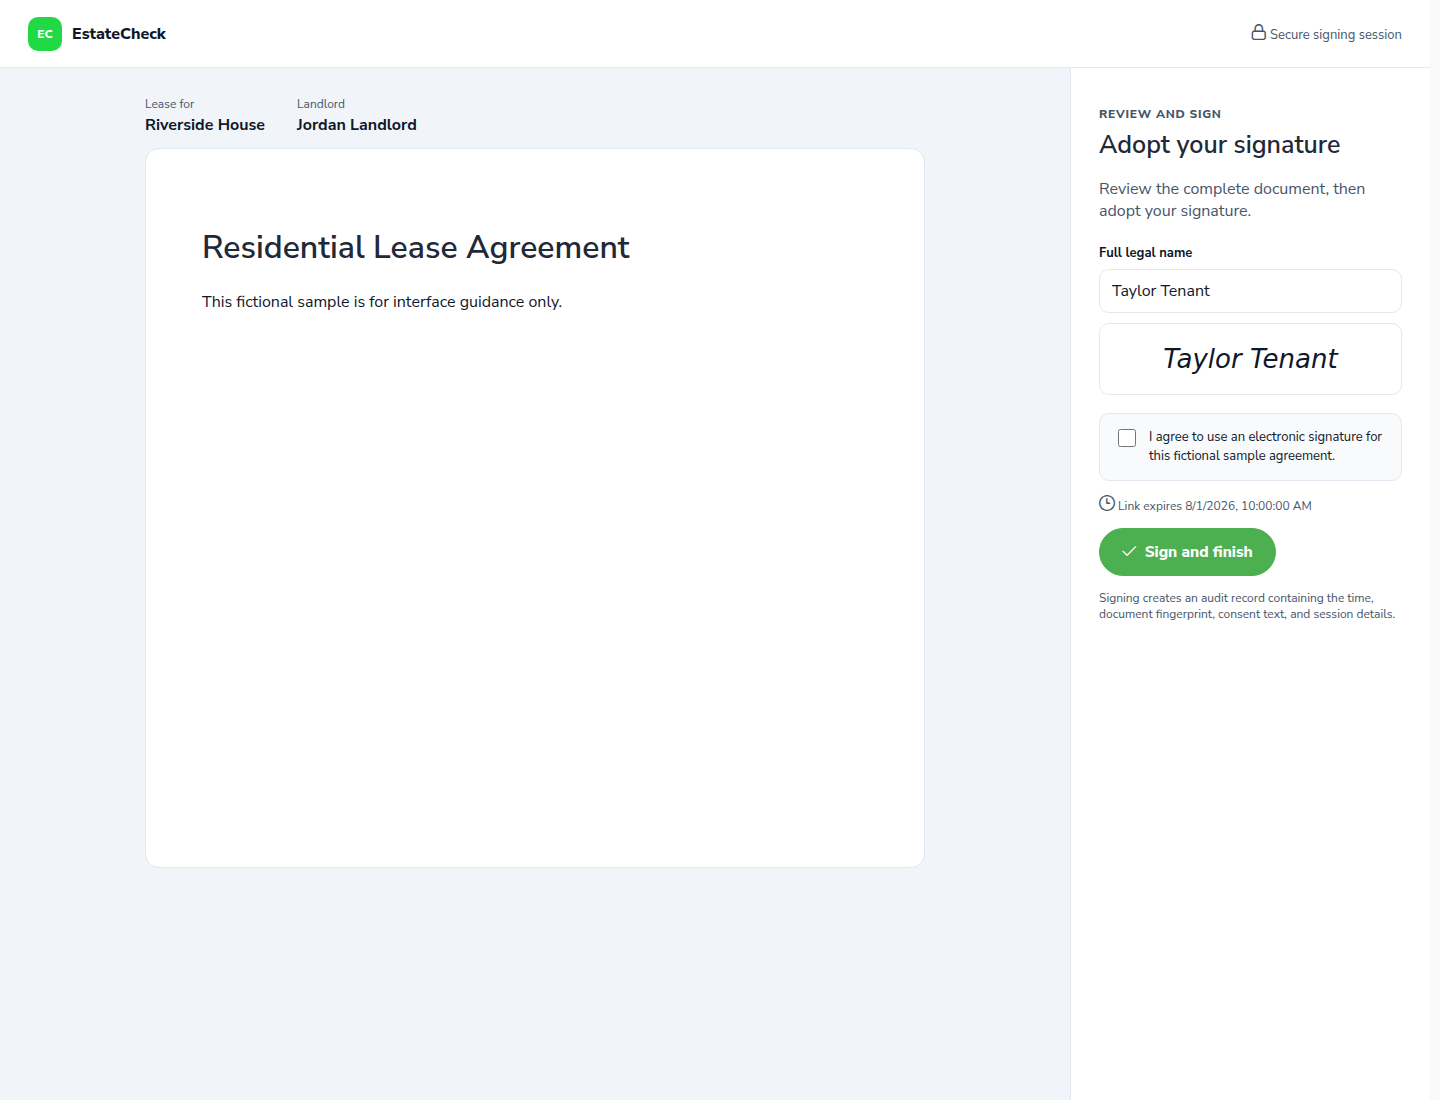
Send the agreement for review. Each signer should read the complete lease, follow the signing prompts, and confirm completion. Return to Leases to monitor status and access the completed record.
Common questions