How to add your first rental property in EstatesCheck
Quick answer
To add a rental property, open Properties, select Add property, choose the property type, enter its address, confirm the unit count and compliance answers, then review and save.Open the Properties page
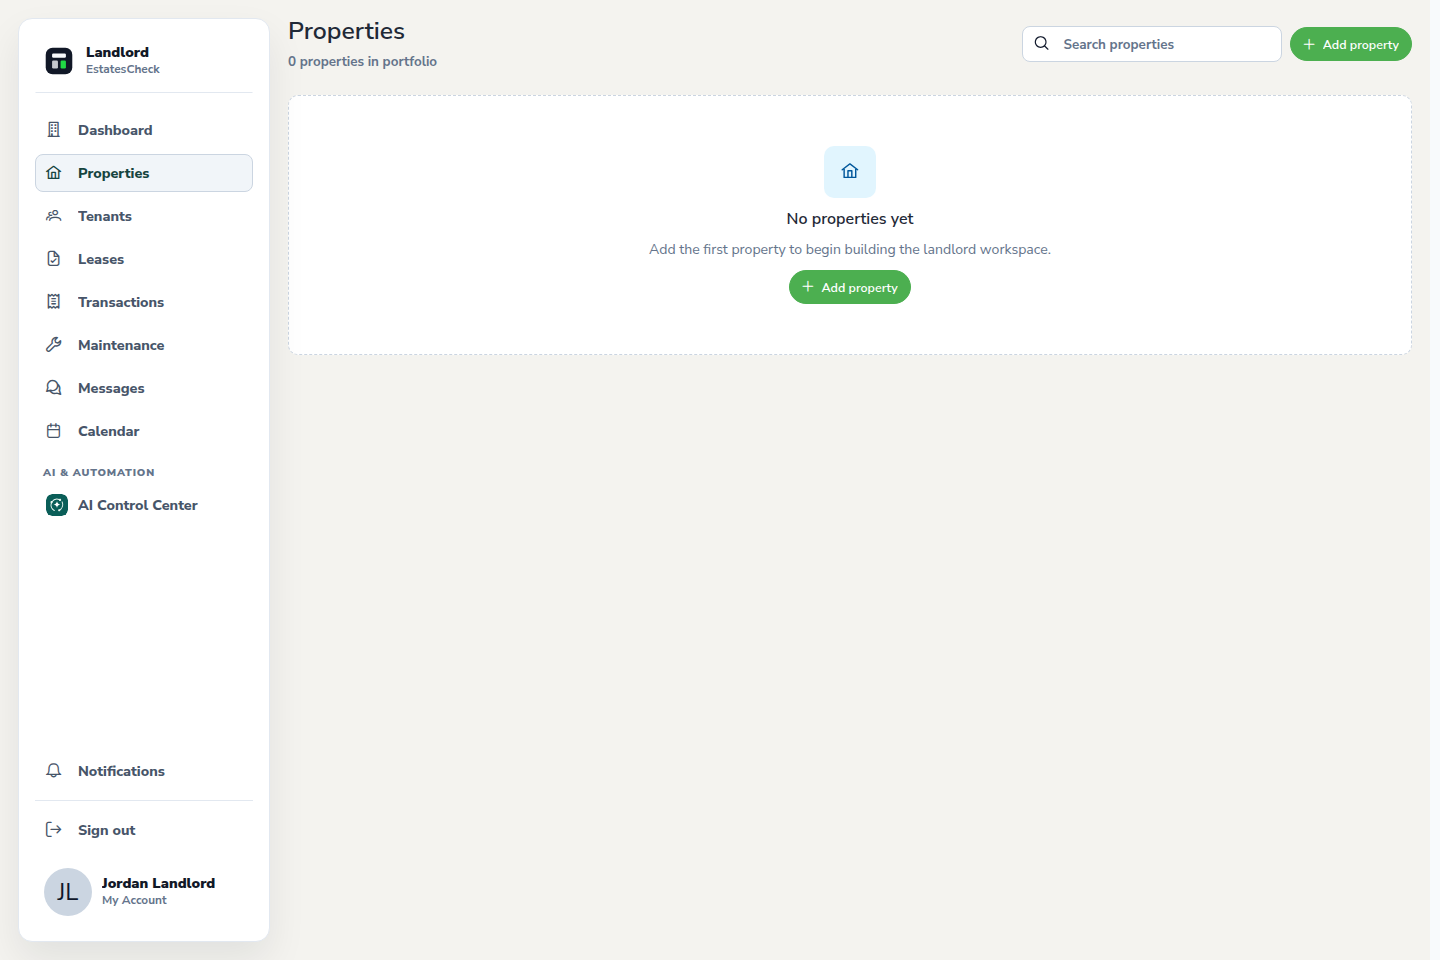
Sign in as a landlord, choose Properties in the main navigation, and select Add property.
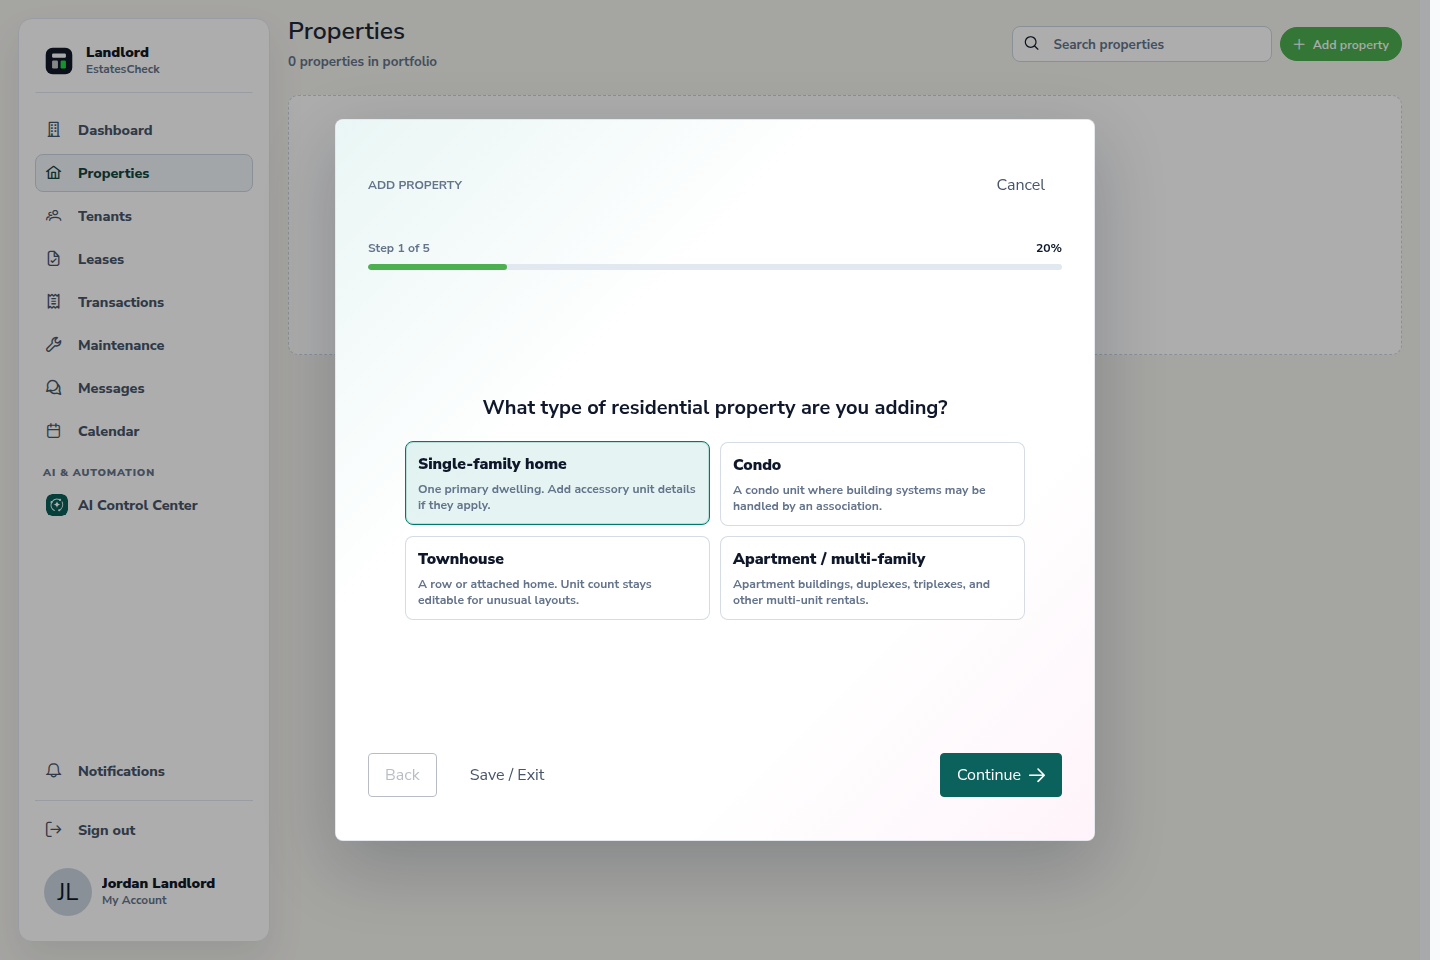
Choose the residential property type
Select the option that best describes the building: single-family home, condo, townhouse, or apartment and multi-family.
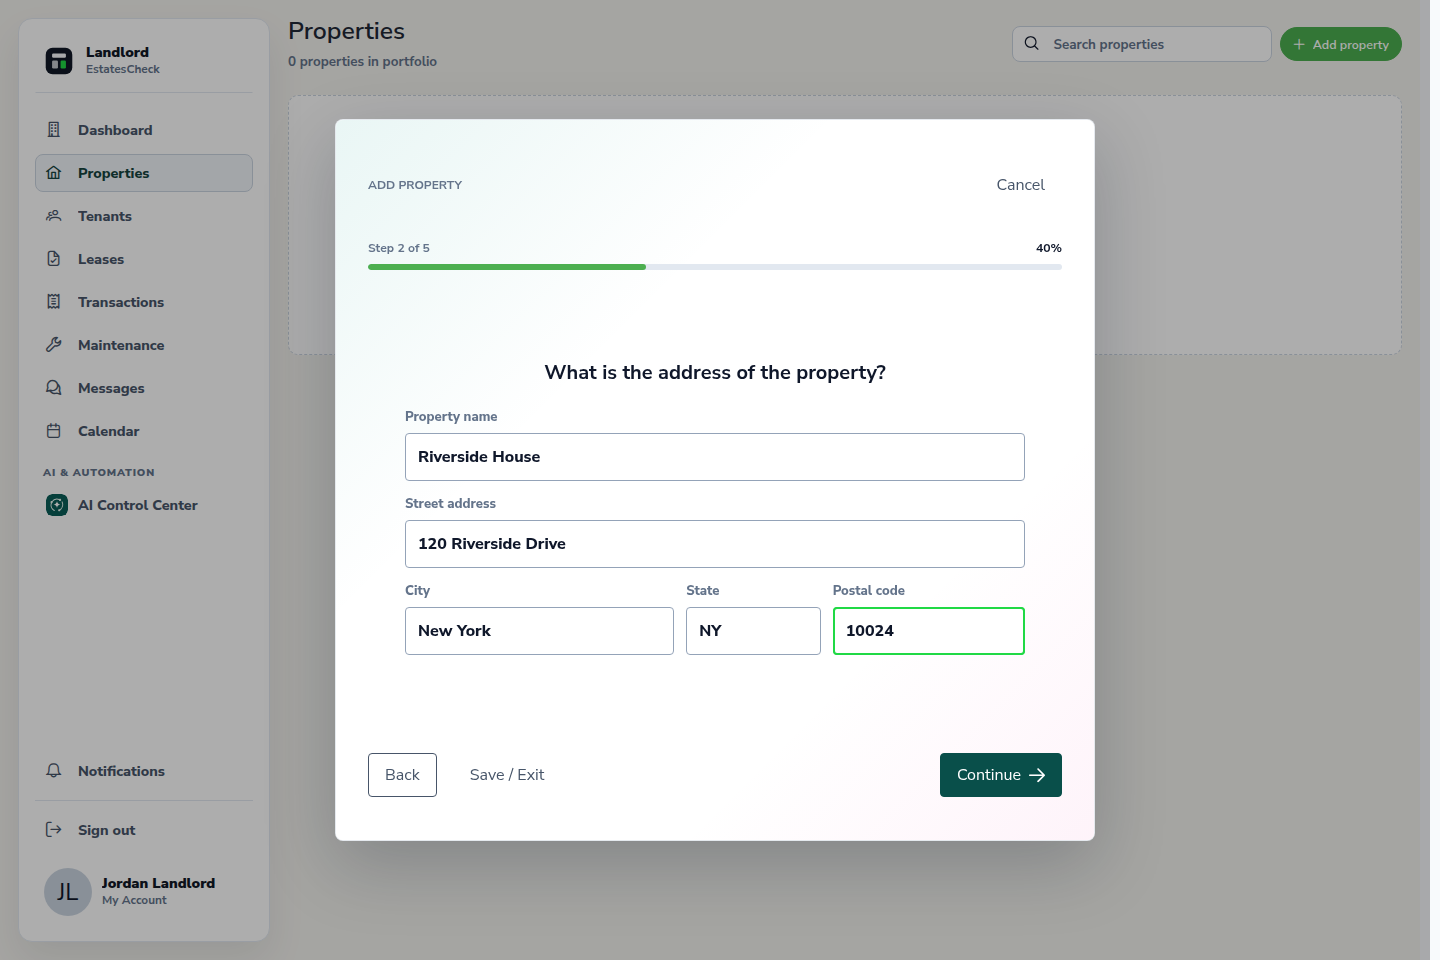
Enter the property name and address
Add an optional name that will be easy to recognize, then enter the street, city, state, and postal code.
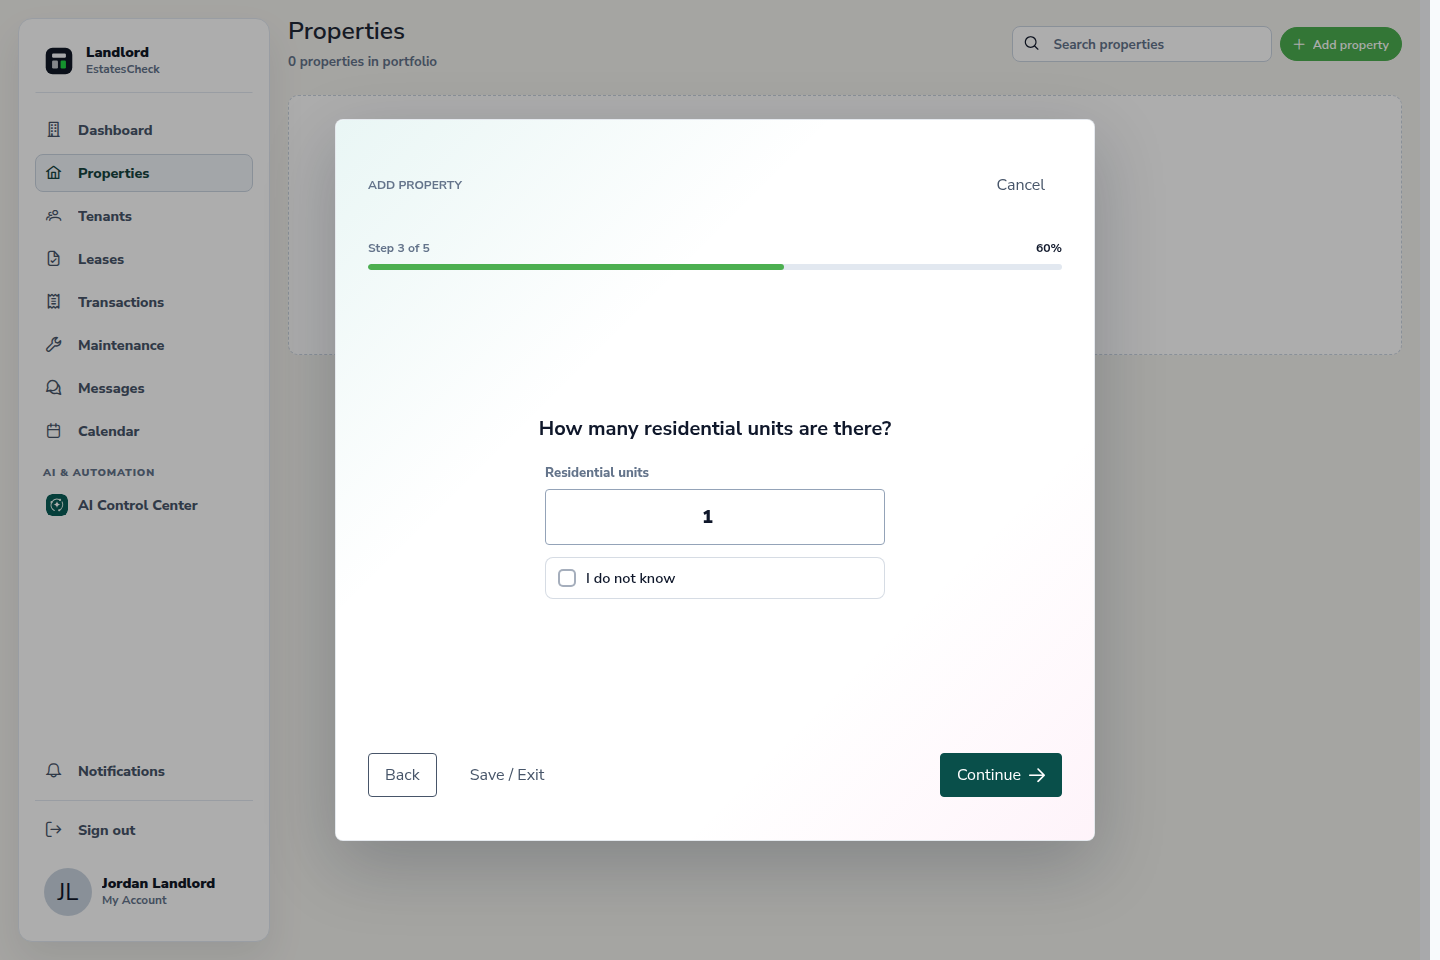
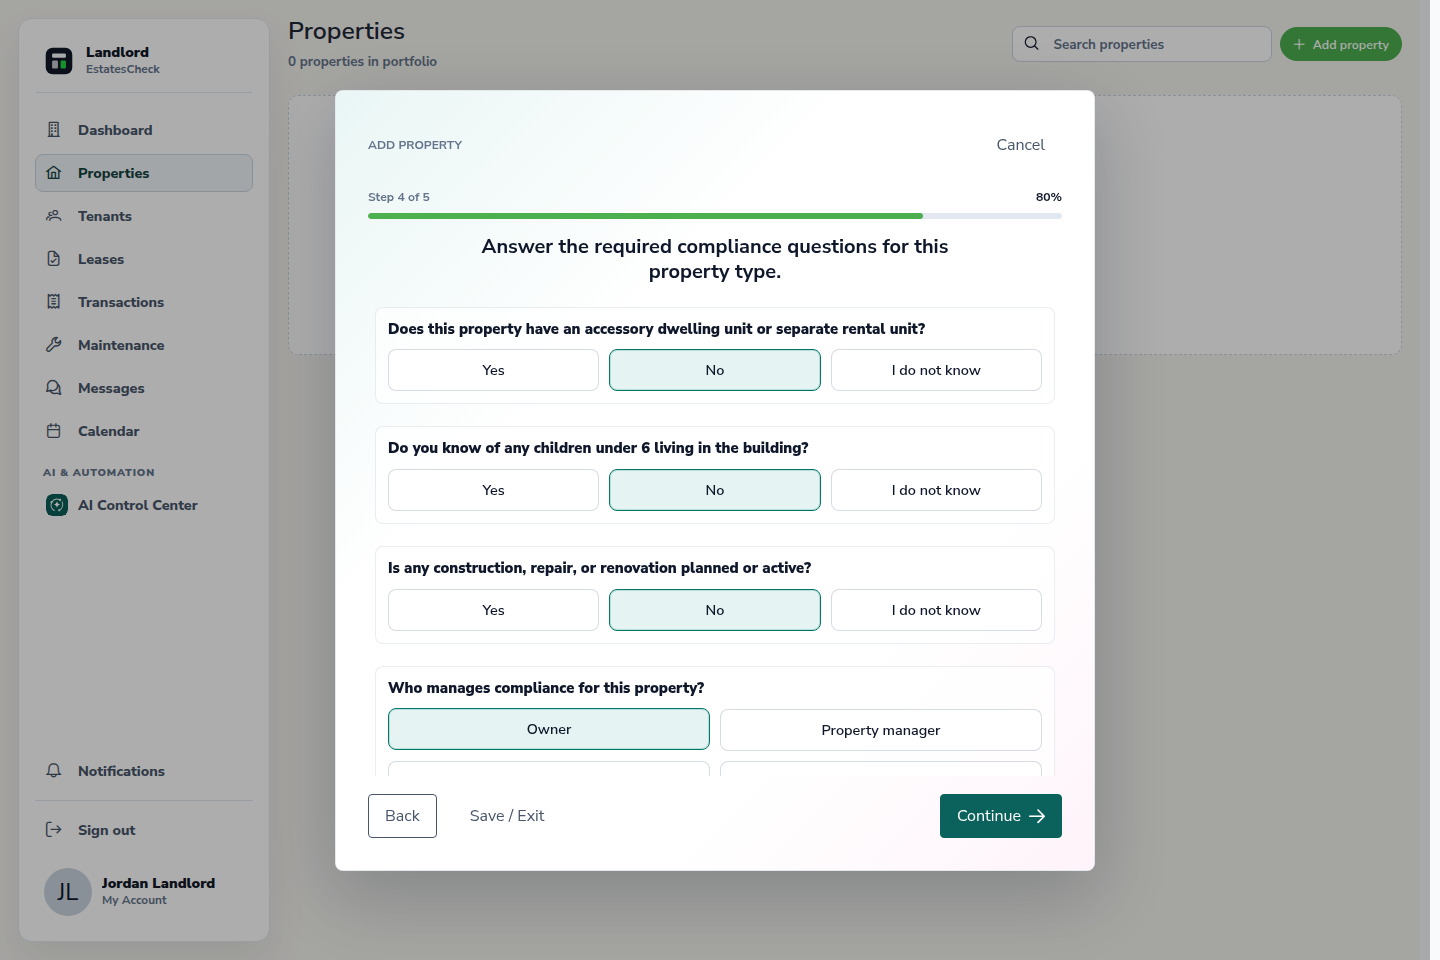
Confirm units and compliance details
Enter the residential unit count and answer the required property questions. These answers help EstatesCheck organize the property record correctly.
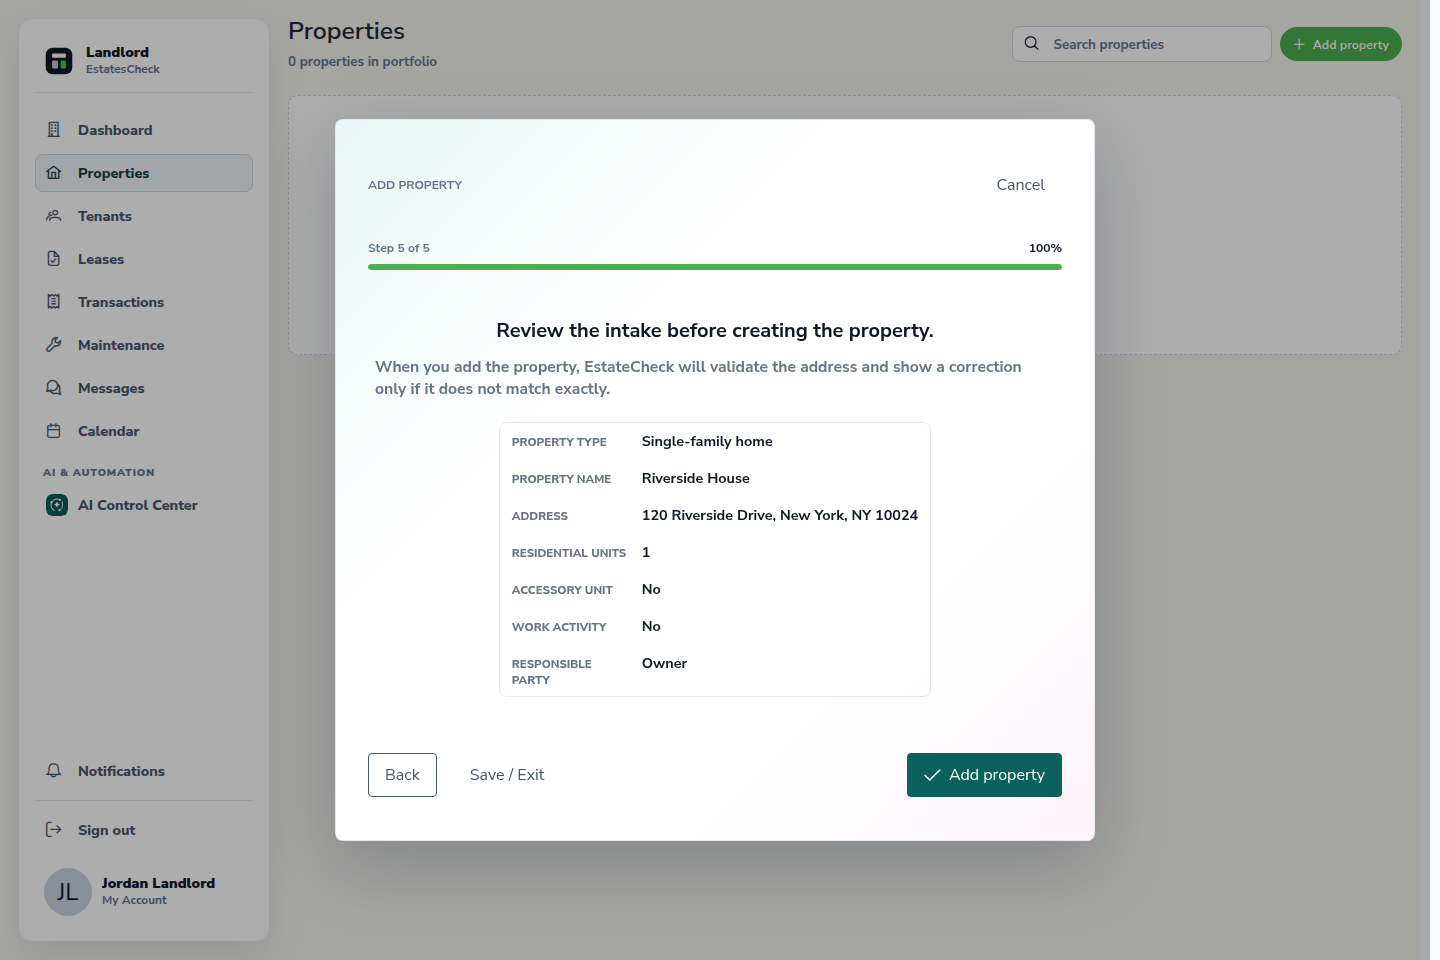
Review and add the property
Check the summary for accuracy, select Add property, and review any address correction EstatesCheck offers before confirming.
Common questions